Blog · 2 September 2026 · By Sam Thomas
Gmail HubSpot integration: Step‑by‑Step Setup
Set up a Gmail HubSpot integration, connect your inbox, install HubSpot Sales, track emails, and automate CRM admin with ForwardThis.
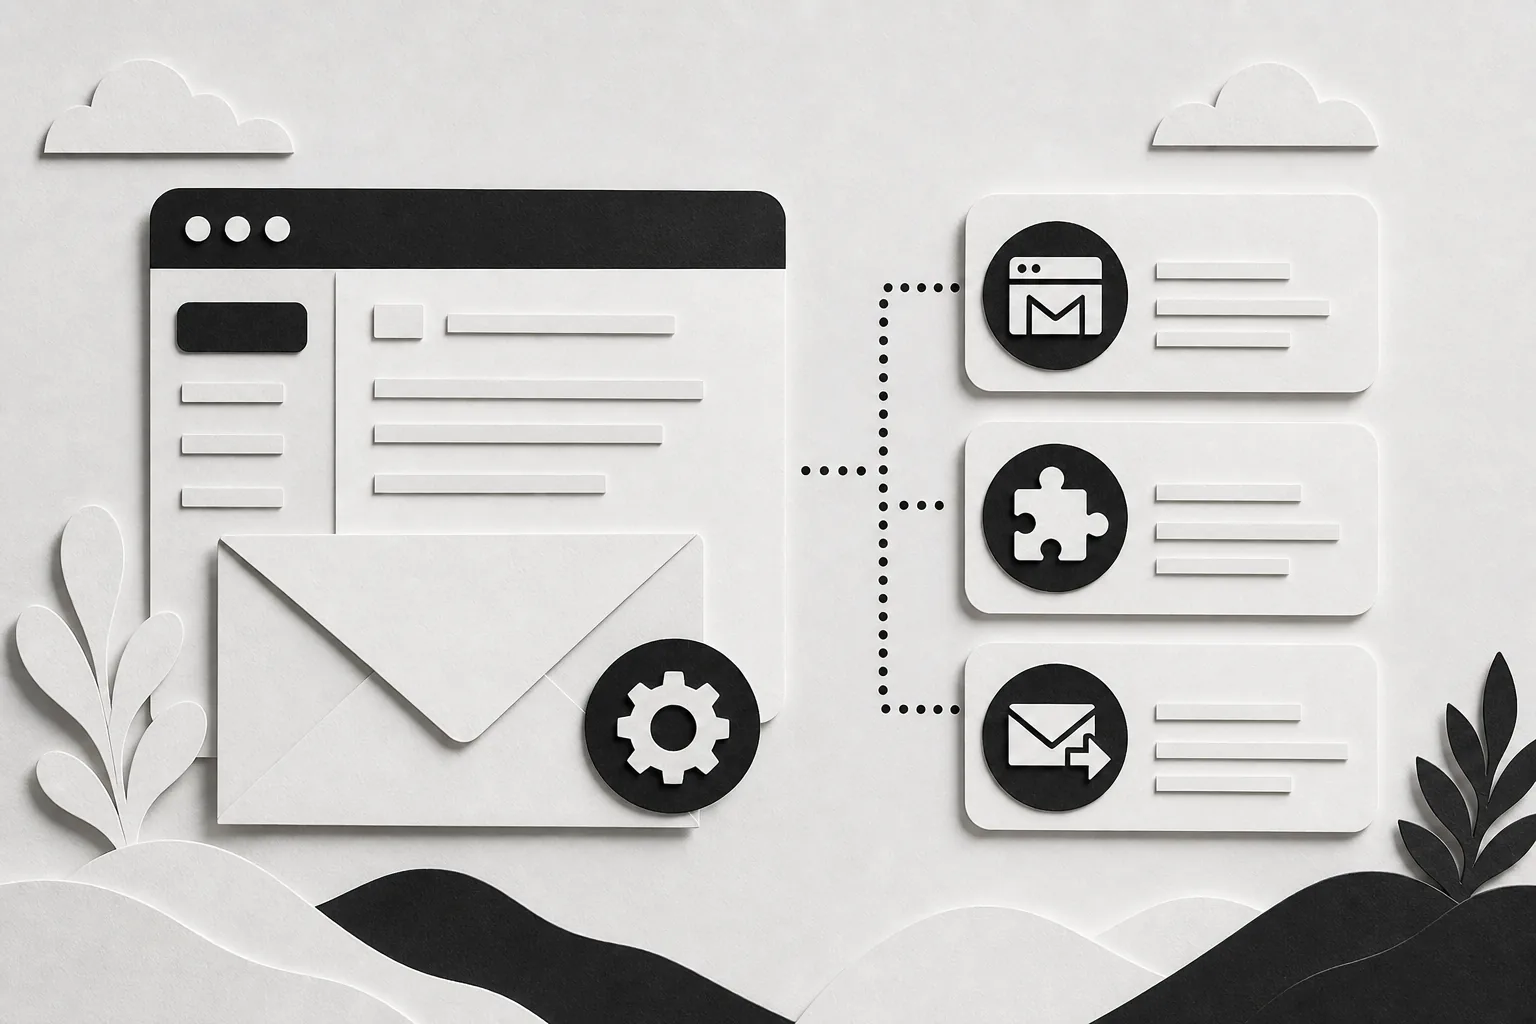
Want your Gmail messages to feed HubSpot without writing code or juggling multiple apps? Below is a hands‑on walkthrough that gets you from a blank inbox to a fully logged, tracked, and automated CRM workflow. Follow each step, copy the snippets, and you’ll be moving data from email to HubSpot in minutes.
Table of Contents
- Step 1: Choose the Right Gmail HubSpot Connection
- Step 2: Connect Your Gmail Inbox to HubSpot
- Step 3: Install the HubSpot Sales Chrome Extension
- Step 4: Configure Email Logging, Tracking, and Contact Creation
- Step 5: Automate CRM Tasks That Start in Gmail with ForwardThis
- FAQ
Step 1: Choose the Right Gmail HubSpot Connection
HubSpot offers three ways to link Gmail to its CRM: a native Gmail add‑on, the HubSpot Sales Chrome extension, and a simple BCC/forward address. Each method has a different focus.
The native Gmail add‑on lets you send, receive, and schedule emails directly inside HubSpot. It’s great if you want a single pane for drafting and logging, but it doesn’t give you the same quick‑action toolbar that sales reps love.
The HubSpot Sales Chrome extension adds a toolbar to Gmail. From there you can enroll contacts in sequences, insert meeting links, and log emails with a single click. The extension also supports real‑time open notifications, which many reps find useful for timely follow‑ups.
Finally, the BCC/forward address works for ad‑hoc logging. You forward an email to a unique HubSpot address and the system creates a contact if none exists. This method is the most flexible for occasional admin tasks, but it lacks the instant toolbar shortcuts.
Pick the option that matches your daily flow. If you need a toolbar for quick actions, go with the Chrome extension. If you only log a few emails each week, the BCC address is enough. And if you want everything inside HubSpot’s UI, the native add‑on fits the bill.
Step 2: Connect Your Gmail Inbox to HubSpot
First, open HubSpot and navigate to Settings ▶ Integrations ▶ Email Integrations. Click “Connect personal email” and choose Gmail. HubSpot will ask you to sign in with the Google account you use for sales.
During the OAuth flow you’ll see a permissions screen. HubSpot needs to read your email headers, subject lines, and body content so it can log messages and track opens. The consent screen also notes that HubSpot can send emails on your behalf, this is how scheduled sends work.
After you grant access, HubSpot runs a quick test: it sends a verification email to your Gmail address. Open that message and click the verification link. Once confirmed, HubSpot shows a green checkmark next to your Gmail account.
Now you can send a test email from Gmail. HubSpot will automatically log it to the contact’s timeline and show a real‑time notification if you have the Chrome extension installed.
If your organization enforces two‑factor authentication, generate an app‑specific password in Google’s security settings and paste it when HubSpot asks for your password. The connection works the same way for team inboxes, just repeat the steps for each shared address you want to log.
Integrations - ForwardThis lets you forward Gmail messages to HubSpot without any OAuth steps, a handy shortcut for occasional updates.
Step 3: Install the HubSpot Sales Chrome Extension
Open the Chrome Web Store, search for “HubSpot Sales”, and click “Add to Chrome”. The extension is a small icon that appears next to the address bar.
When you first click the icon, you’ll be prompted to log into your HubSpot account. After signing in, the extension asks which HubSpot portal you want to connect to, choose the one you just linked to Gmail.
Once installed, open a new Gmail compose window. You’ll see a HubSpot toolbar with buttons for “Log”, “Track”, “Templates”, and “Meetings”. Toggle “Track” to embed the invisible pixel that powers open notifications. Toggle “Log” to automatically create a timeline entry for the email.
The extension also supports sequence enrollment directly from Gmail. Highlight a contact’s email address, click the “Enroll” button, and pick the sequence you want to start. HubSpot will add the contact to the sequence without leaving your inbox.
Remember to grant the extension permission to read your Gmail messages; otherwise the toolbar stays grey and the buttons won’t work.
Step 4: Configure Email Logging, Tracking, and Contact Creation
With Gmail linked and the Chrome extension active, you can fine‑tune how HubSpot treats each outgoing message.
In HubSpot Settings ▶ Objects ▶ Activities, find the “Email logging” section. Turn on “ Log all sent emails by default” if you want every email to appear on a contact record automatically. If you prefer manual control, leave the default off and use the toolbar’s Log button when you need a record.
Open the “Email tracking” section next door. Here you can set the default state of the tracking pixel. For sales teams that rely on open notifications, enable “Track opens by default”. If privacy is a concern for your audience, consider leaving it off and only turning it on for high‑value prospects.
Contact creation works the same way. When you send an email to an address HubSpot does not recognize, the platform creates a new contact record on the fly. You can edit the new record immediately from the sidebar that appears after sending.
HubSpot also lets you map custom properties to email fields. For example, you could capture “Industry” from the email signature using a simple parsing rule. That level of detail helps sales managers segment leads later.
AI Virtual Assistant for Sales Teams | ForwardThis can supplement HubSpot’s native logging by handling edge‑case instructions, like “Add this note and set a follow‑up for Friday”.
Step 5: Automate CRM Tasks That Start in Gmail with ForwardThis
HubSpot covers most standard logging and tracking needs, but it can’t interpret free‑form instructions like “Add this person to HubSpot and remind me next week”. That’s where ForwardThis shines.
To get started, forward (or CC) any Gmail message todo@forwardthis.ioand write a short line of plain English describing the action. Example: “Create a new HubSpot contact for Jane Doe, add her to the “Webinar Leads” list, and set a follow‑up task for Thursday.” ForwardThis parses the email, calls HubSpot’s API, and replies with a confirmation.
The service works in three simple steps:
- Forward the email (or CC ForwardThis) from Gmail.
- Write a concise instruction in the email body.
- ForwardThis performs the action and emails you a summary.
Because ForwardThis only sees emails you deliberately forward or CC to it, it respects privacy and avoids the broad mailbox permissions many other tools require. Actions are reversible for 24 hours, giving you a safety net if you make a mistake.
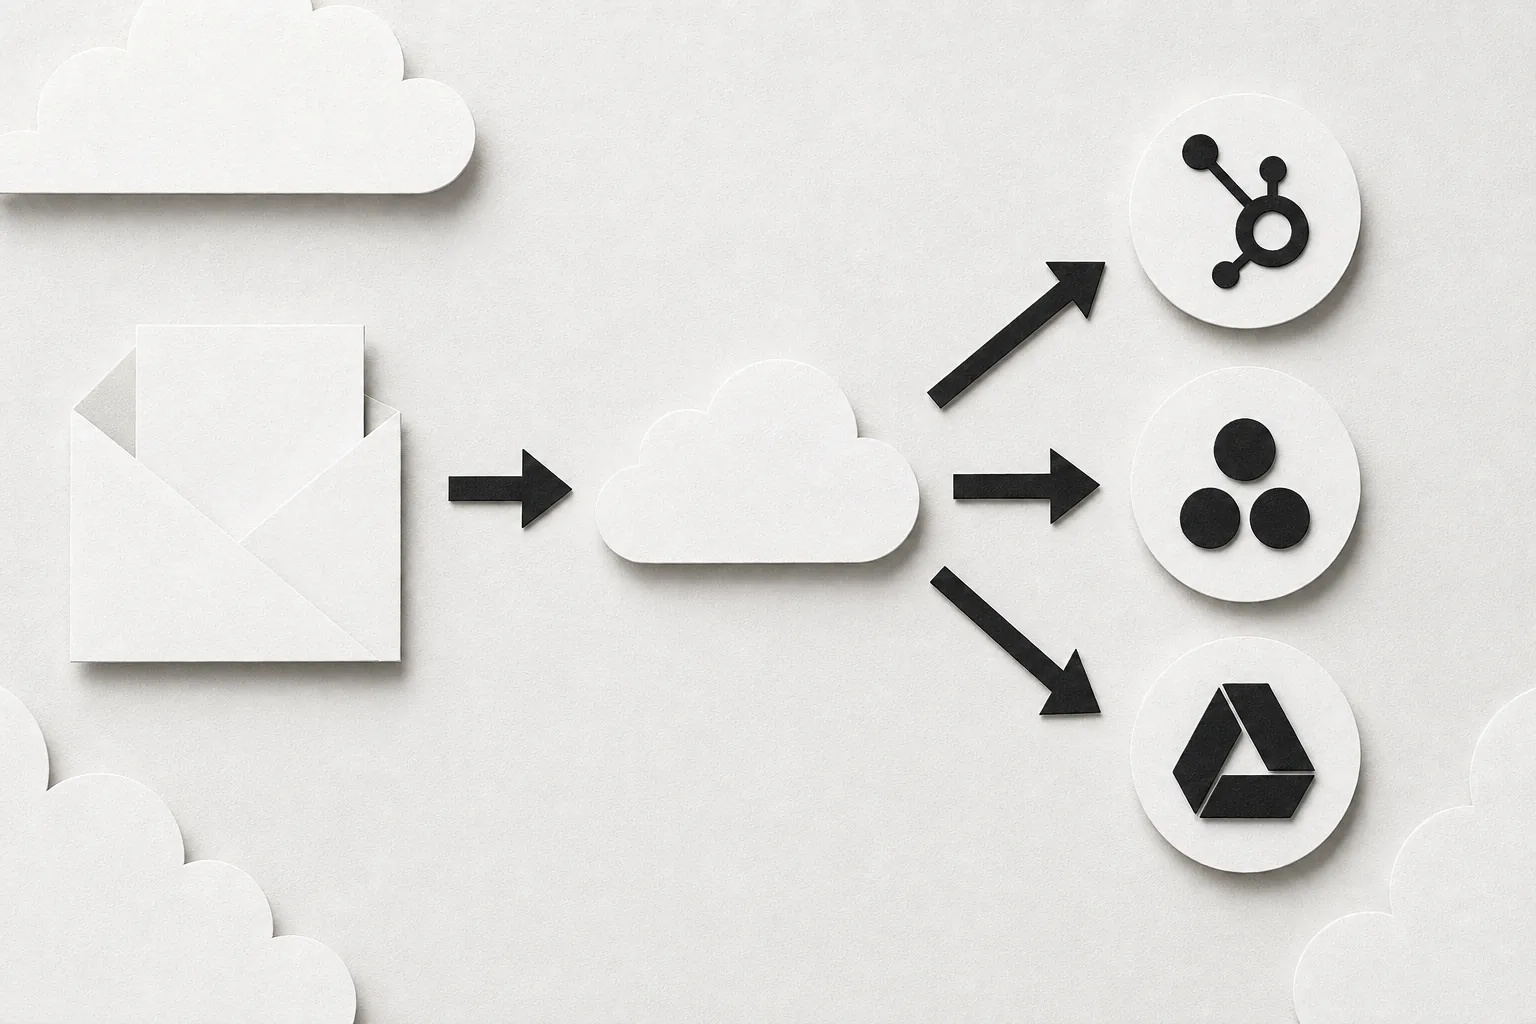
Use ForwardThis for tasks that HubSpot can’t do natively, such as creating a task in Asana, saving an attachment to Google Drive, or adding a note to a Notion page, all from the same Gmail thread.
FAQ
Can I use HubSpot’s native Gmail add‑on and the Chrome extension together?
Yes. The add‑on lets you send and schedule emails inside HubSpot, while the Chrome extension adds a toolbar for quick logging and tracking. They share the same backend, so data stays in sync.
Do I need a paid HubSpot plan to log emails?
Logging and email tracking are available with HubSpot’s free features.
How does ForwardThis keep my data safe?
ForwardThis only processes emails you explicitly forward or CC to it. It stores the message briefly, then deletes it after the action completes. All API calls to HubSpot use encrypted HTTPS, and you can revoke the ForwardThis address at any time.
What if I forward an email that HubSpot can’t parse?
HubSpot will log the raw email content but won’t create a new contact automatically. ForwardThis will return an error message explaining what went wrong, so you can adjust the instruction.
Can I automate follow‑up tasks without writing a Zapier workflow?
Absolutely. Forward an email that says “Create a follow‑up task for next Tuesday” and ForwardThis will add the task directly in HubSpot, bypassing Zapier entirely.
Is there a limit to how many emails I can forward to ForwardThis?
ForwardThis’s free tier includes the same features as its paid plans, but it isn’t unlimited: each plan comes with a monthly action allowance—one email equals one action—that resets on the 1st. Paid plans simply raise that allowance.
Pick the connection method that fits your workflow, link Gmail to HubSpot, add the Sales Chrome extension, fine‑tune logging, then let ForwardThis handle the odd‑ball tasks. You’ll spend less time switching apps and more time closing deals.