Blog · 6 September 2026 · By Sam Thomas
Outlook HubSpot Integration: Setup Guide
Learn how to set up Outlook HubSpot integration, log emails, track engagement, use sales tools, and fix common add-in and permission issues.
If Outlook is where your work starts, HubSpot should not make you copy every email by hand. This setup guide walks you through the add-in, permissions, email logging, tracking, and sales tools. We will also show where ForwardThis fits when the native add-in feels too narrow.
Table of Contents
- Step 1: Install the HubSpot Outlook Add-In
- Step 2: Sign In, Grant Permissions, and Check Your Outlook Version
- Step 3: Log Outlook Emails to HubSpot Automatically or Manually
- Step 4: Track Opens and Clicks from the Outlook Pane
- Step 5: Use HubSpot Templates, Sequences, Snippets, and Meeting Links
- Step 6: Troubleshoot Sync, Permissions, and Add-In Problems
- FAQ
- Conclusion
Step 1: Install the HubSpot Outlook Add-In
The first step in an Outlook HubSpot integration is to add HubSpot Sales to the Outlook account you use for work.
Open Outlook in a browser or in the Microsoft 365 desktop app. Start a new message, then open the Apps or Get Add-ins menu. Search for HubSpot Sales. Check that HubSpot is listed as the publisher before you select Add.
You may also start from HubSpot's marketplace area. In either case, the add-in must be installed for the Microsoft account connected to your Outlook mailbox. Installing it under a personal Microsoft account will not make it appear in your work inbox.
After installation, open an email or start a reply. Look for HubSpot in the message toolbar or the right-hand pane. The panel may stay hidden until a message is selected, so test it from an open email rather than the empty inbox view.
Microsoft 365 administrators may need to approve the add-in for the organization. If you see an approval notice, send it to the person who manages Microsoft add-ins. Installing the add-in again usually will not fix a company-wide approval block.
For teams that want a wider email-to-CRM workflow, ForwardThis HubSpot email automation takes a different path. You forward an email with an instruction such as “Add this person to HubSpot and follow up Friday.” There is no Outlook extension to install.
Use the native add-in when you want HubSpot tools inside Outlook. Use ForwardThis when the work begins with a specific email and may involve a contact, deal, task, file, or calendar action.
Step 2: Sign In, Grant Permissions, and Check Your Outlook Version
Your Outlook HubSpot integration will not work until the correct accounts are connected and the permission request is approved.
Open the HubSpot panel inside Outlook. Sign in with the HubSpot account that owns the CRM records. If your browser has several Microsoft or HubSpot sessions open, check the email address shown during sign-in. The wrong account is a common reason for missing contacts and empty activity records.
Next, review the permission screen. HubSpot needs permission to work with Outlook mail activity and show its tools in the mailbox. Read the request before selecting Allow. If your company blocks third-party add-ins, you may see a request for admin approval instead.
Now check which Outlook version you use:
- Browser access: Open Outlook in your browser and check the Apps menu inside a message.
- Desktop access: Use the Microsoft 365 version tied to your work account, then look in the ribbon or message pane.
- Mac access: Confirm that you use the Microsoft 365 version. Older or separately installed builds may not show the add-in in the same way.
Do not install an old desktop extension beside the newer Office 365 add-in. Two versions can conflict. If a previous extension is present, remove it before testing the current one.
Once you grant access, open a message from a known contact. The HubSpot panel should load contact details or give you an option to create the contact. A gray or missing panel often means no message is selected, the add-in is disabled, or an administrator has not approved it.
For a less technical route, ForwardThis only needs a deliberate email from you. It sees the message you send or forward, rather than asking for access to your full inbox. That makes it useful for founders, consultants, and small teams that want to hand off one CRM job at a time.
Step 3: Log Outlook Emails to HubSpot Automatically or Manually
Email logging is the main reason people set up an Outlook HubSpot integration. It places a copy of the conversation on the right CRM record.
Open a message or compose a reply with the HubSpot panel visible. Choose the option to log the email. HubSpot may suggest an existing contact based on the sender or recipient. Review the suggested record before saving it.
You can often choose which records receive the activity. Depending on your settings, that may include:
- An existing contact
- A newly created contact
- The related company
- An open deal
- A ticket, if your account uses ticket records
Automatic logging is useful when your team needs a broad record of customer conversations. Turn it on only after you decide which mail should enter the CRM. Internal notes, private messages, and unrelated threads should not fill the activity feed.
Manual logging gives you more control. Before sending, select the log option for the message. Then check the associations. A contact may belong to a company and an active deal, but that does not mean every email should appear on all three records.
Send a test message to a safe contact. Then open the contact record in HubSpot and confirm that the email appears in the activity feed. If you expected it on a deal, check the deal's associations as well. A message logged only to a contact may not appear on a deal unless the relationship is set correctly.
This is where many teams lose time. The email was logged, but it was saved to the wrong object. Set your default associations with care, then use manual selection for unusual messages.
ForwardThis handles a different kind of CRM task. You can forward an email and write “Update the Acme deal, add this note, and remind me Friday.” We carry out the requested action in HubSpot and reply with a record of what happened. The action is on demand, not a continuous background sync, so you remain in control of each request.
Step 4: Track Opens and Clicks from the Outlook Pane
Email tracking adds engagement signals to your Outlook HubSpot integration. It can show when a tracked email is opened or when a recipient clicks a link.
When you write a new email, open the HubSpot pane before sending. Turn on tracking, then choose whether to log the message as well. These are separate choices. Tracking tells you about engagement. Logging puts the message on a CRM record.
Use tracking for a clear next step. For example, you might send a proposal and follow up after the recipient opens it. Do not treat an open as proof that someone read every word. Mail privacy tools, security scans, and blocked tracking pixels can affect what gets reported.
Click tracking needs the same care. A click may come from a recipient, a security scanner, or a forwarded message. Use the signal as a prompt to review the account, not as a complete picture of buying intent.
If tracking stops, send a test email to an address you control. Check that tracking is enabled, the HubSpot account is still signed in, and the recipient's address is valid. Then inspect the activity record in HubSpot.
Tracking is helpful, but it is not a replacement for a good follow-up rule. Decide what you will do after an open or click. Otherwise the notification becomes one more item to ignore.
Step 5: Use HubSpot Templates, Sequences, Snippets, and Meeting Links
The sales tools inside Outlook can speed up repeat work without making you leave the mailbox.
Templates are saved email drafts for messages you send often. Insert one, then edit the details for the person and deal. Never send a template without checking names, dates, attachments, and promises. A saved draft can save time, but it can also repeat the wrong detail very quickly.
Snippets are shorter pieces of text. Use them for a common answer, a qualification question, or a short explanation. They work best when the surrounding email still sounds personal.
Sequences are a series of planned sales steps. If the contact meets your team's rules, add that person to the right sequence from the Outlook pane. Check the sequence name and timing before you enroll anyone. A sequence can send follow-up messages after you have moved on to another task.
Meeting links let a recipient choose a time from your available slots. Add the link to the email, then check the calendar settings behind it. A meeting link is only useful if the time zone, availability, and meeting type are correct.
ForwardThis is better suited to the admin that follows an email. Try an instruction such as “Add this lead to HubSpot, attach the proposal to the deal, and create a task for Friday.” That kind of request may touch more than one CRM object or another business app, without requiring you to build a sequence first.
Step 6: Troubleshoot Sync, Permissions, and Add-In Problems
Most Outlook HubSpot integration problems come from the wrong account, the wrong Outlook build, or a setting that was never approved.
Work through these checks in order:
- The add-in is missing: Open an email, not just the inbox. Then check the Apps menu and confirm that the add-in is installed for the right Microsoft account.
- The panel is gray: Select a message or open the message in a separate window. Some Outlook views do not activate the panel until a message is in focus.
- Permission is denied: Ask your Microsoft 365 administrator to review the pending approval. Sign out of the wrong Microsoft or HubSpot account before trying again.
- Emails are not logging: Check the log setting on the message. Then verify that the recipient matches a HubSpot contact or that contact creation is allowed.
- Meetings are missing: Confirm that calendar permissions are active and that the correct mailbox is connected. Test with a new meeting rather than relying on an old event.
- Tracking is not showing: Send a fresh tracked email and allow time for activity to appear. Check that tracking was enabled before sending.
Do not reinstall first. Reinstallation can hide the real cause, especially when an administrator policy or account mismatch is involved. If several people lose the same function at once, check the shared Microsoft or HubSpot settings before changing each user's setup.
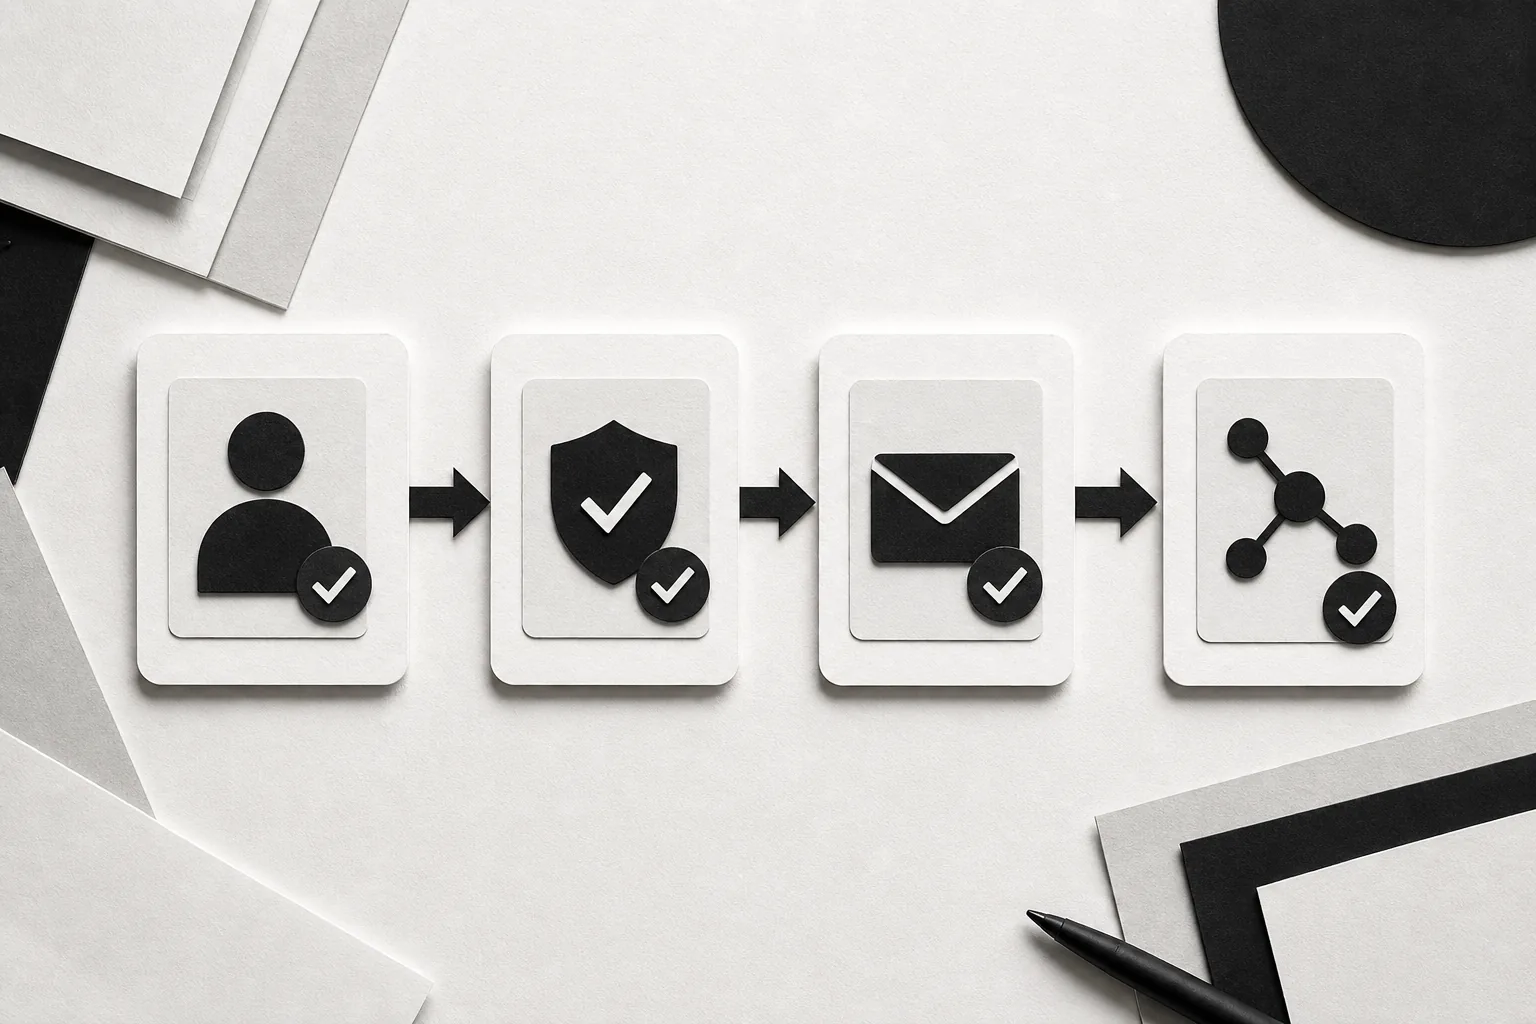
ForwardThis avoids many add-in problems because it does not depend on a browser panel or Outlook extension. It still has limits. You must forward the email yourself, the action is not continuous real-time sync, and reversible actions can be undone only within 24 hours where that option applies.
If you need a live panel for sales work, fix the native add-in. If you need to turn a single email into a CRM update, task, calendar event, or file action, send that request through ForwardThis instead.
FAQ
How do I integrate Outlook with HubSpot?
Install HubSpot Sales from the Outlook add-in menu, sign in to the correct HubSpot account, and approve the requested permissions. Open a message to confirm the HubSpot pane appears. Then send a test email and check its activity on the contact record. This gives you a basic Outlook HubSpot integration for logging and sales tools.
Can Outlook emails automatically log to HubSpot?
Yes, Outlook emails can log automatically when inbox automation and the message logging settings are enabled. You can also log messages by hand from the HubSpot pane. Review default associations before turning on automatic logging, since a message may be saved to a contact without appearing on the related company or deal.
Why is the HubSpot add-in missing in Outlook?
The HubSpot add-in may be missing because no message is selected, the wrong Outlook version is installed, or a Microsoft 365 administrator has not approved it. Check the Apps menu inside an open message. Confirm that your installed version is supported and up to date.
Can I track email opens in Outlook with HubSpot?
Yes, HubSpot can track opens and clicks when tracking is enabled before you send the email. Open the HubSpot pane while composing, turn on tracking, and decide separately whether to log the email. Treat the result as a useful signal, not proof that the recipient read the full message.
Is there an easier alternative to the Outlook HubSpot add-in?
ForwardThis is an easier option when you want to act on one email without installing an add-in. Forward the message with a plain instruction, such as “Add this lead to HubSpot and remind me Friday.” ForwardThis can handle supported contact, deal, note, task, calendar, and attachment actions from that request.
Conclusion
Use the native HubSpot add-in when you need tracking, logging, and sales tools inside Outlook. For sales teams using ForwardThis, one-off CRM admin that starts with an email can be handled by sending a real request and reviewing the reply after it completes. That small test will show whether email-based delegation fits your team better than another panel to manage.