Blog · 27 August 2026 · By Sam Thomas
Outlook Salesforce Integration: Step-by-Step Setup
Set up Outlook Salesforce integration with this clear step-by-step guide. Enable Salesforce, install the Outlook add-in, sync data, and test it safely.
Outlook and Salesforce can work together, but the setup has more than one switch. You’ll need to enable the connector, install the Outlook add-in, set access rules, and test the sync before reps rely on it. Salesforce includes a native option, while third-party tools often add deeper automation and tracking.
Use the steps below to set up the connection without guessing. We’ll also cover permissions, field mapping, mobile use, common errors, and a safer rollout plan.
Table of Contents
- Step 1: Check requirements and open Salesforce Setup
- Step 2: Enable the Outlook integration
- Step 3: Assign user permissions and access
- Step 4: Install the Salesforce add-in in Outlook
- Step 5: Configure sync settings and domains
- Step 6: Customize the Outlook pane and actions
- Step 7: Log emails and calendar events from Outlook
- Step 8: Test, troubleshoot, and roll out
- FAQ
Step 1: Check requirements and open Salesforce Setup
Start by confirming that your Outlook account and Salesforce org can support the integration.
Use a supported Microsoft email setup, such as Exchange Online with Office 365 or another supported option. For Outlook, check whether your users work on desktop, Outlook on the web, or Mac. Your Microsoft administrator may also control whether users can install add-ins.
Then sign in to Salesforce. Select the gear icon, open Setup, and type Outlook Integration and Sync into Quick Find. Open the matching setting. Don’t begin in Outlook first. Salesforce controls the main connection.
Before you change anything, write down which users need access. A small pilot group is easier to fix than a company-wide rollout. Include at least one Salesforce power user who can spot missing records and odd activity links.
Also decide whether the goal is simple email logging or a wider sync. That choice affects the next settings. If you only need reps to attach messages to Salesforce records, you may not need every calendar and contact option.
Step 2: Enable the Outlook integration
Turn on the main Salesforce setting so users can view Salesforce records inside Outlook.
In Outlook Integration and Sync, switch on Let users access Salesforce records from Outlook. Expand the section and enable enhanced email if your org uses it. Review any option that lets users log messages while composing them.
If your team uses Outlook on the web, add the approved Microsoft Outlook web domains. Use the Office 365 Outlook domain when that is your setup. Add a custom domain only when your organization controls it.
A native Salesforce-provided connector is a straightforward starting point. Research covering eight solutions found that three were native Salesforce connectors, while five came from third-party SaaS vendors. The native route usually means fewer moving parts, but it may not cover advanced automation.
Save the setting. Then reload the page and confirm that it remains enabled. A setting that appears on screen but does not save often points to an admin permission issue.
Step 3: Assign user permissions and access
Give the right Salesforce users permission to use the Outlook pane and related features.
Open the permission or permission-set area tied to the Outlook integration. Assign access to your pilot users first. Check that each person has permission to view the Salesforce records they should see, such as contacts, leads, accounts, and opportunities.
If you plan to use Salesforce Inbox, enable it separately when it is available in your org. Then assign the correct Inbox permission set. Salesforce Inbox depends on the Outlook integration, so granting Inbox alone won’t finish the setup.
Use profiles or permission sets to split access by role. A sales rep may need contact and opportunity actions. A support user may need cases instead. Don’t give every user every action by default.
Salesforce is a customer relationship management system. In this setup, that distinction matters because the add-in should expose only the CRM records and actions each user needs.
Step 4: Install the Salesforce add-in in Outlook
Install the Outlook add-in so users can open Salesforce records without leaving their email.
Return to Salesforce’s Outlook integration settings. Find the link to Microsoft AppSource and share it with your pilot users. In AppSource, select Get it now, follow the sign-in prompts, and approve the requested permissions.
Microsoft administrators can also deploy the add-in for a group through the organization’s add-in controls. That approach helps when users cannot install apps themselves. It also keeps the rollout tied to your existing Microsoft access rules.
Once the add-in is available, open Outlook and look for the Salesforce cloud icon in the ribbon. In Outlook on the web, the icon may appear in the message area or under the add-in menu. Select it and sign in with the Salesforce account that matches your user.
Microsoft AppSource is Microsoft’s marketplace for business applications and add-ins. Using it for this installation keeps the download path tied to Microsoft’s own app distribution system.
Step 5: Configure sync settings and domains
Set clear rules for which emails, events, contacts, and domains can move between Outlook and Salesforce.
If your org uses Einstein Activity Capture, choose the email server and authentication method. User-level authentication asks each user to connect their own mailbox. Admin-led options may fit a managed rollout better, but your security team should approve the choice.
Choose whether email and calendar data sync in one direction or both directions. Then set the lookback period for older emails and events. A short lookback period reduces the first sync load and keeps old private material out of Salesforce.
Review event rules with care. Decide how private events behave, whether recurring events sync, and what happens when an event is deleted. Calendar mistakes can create duplicate meetings or expose details that should stay private.
Use domain and address rules to exclude internal mail or specific addresses. For example, you might stop routine internal messages from becoming Salesforce activity. Add customer domains only when you understand the record-matching result.
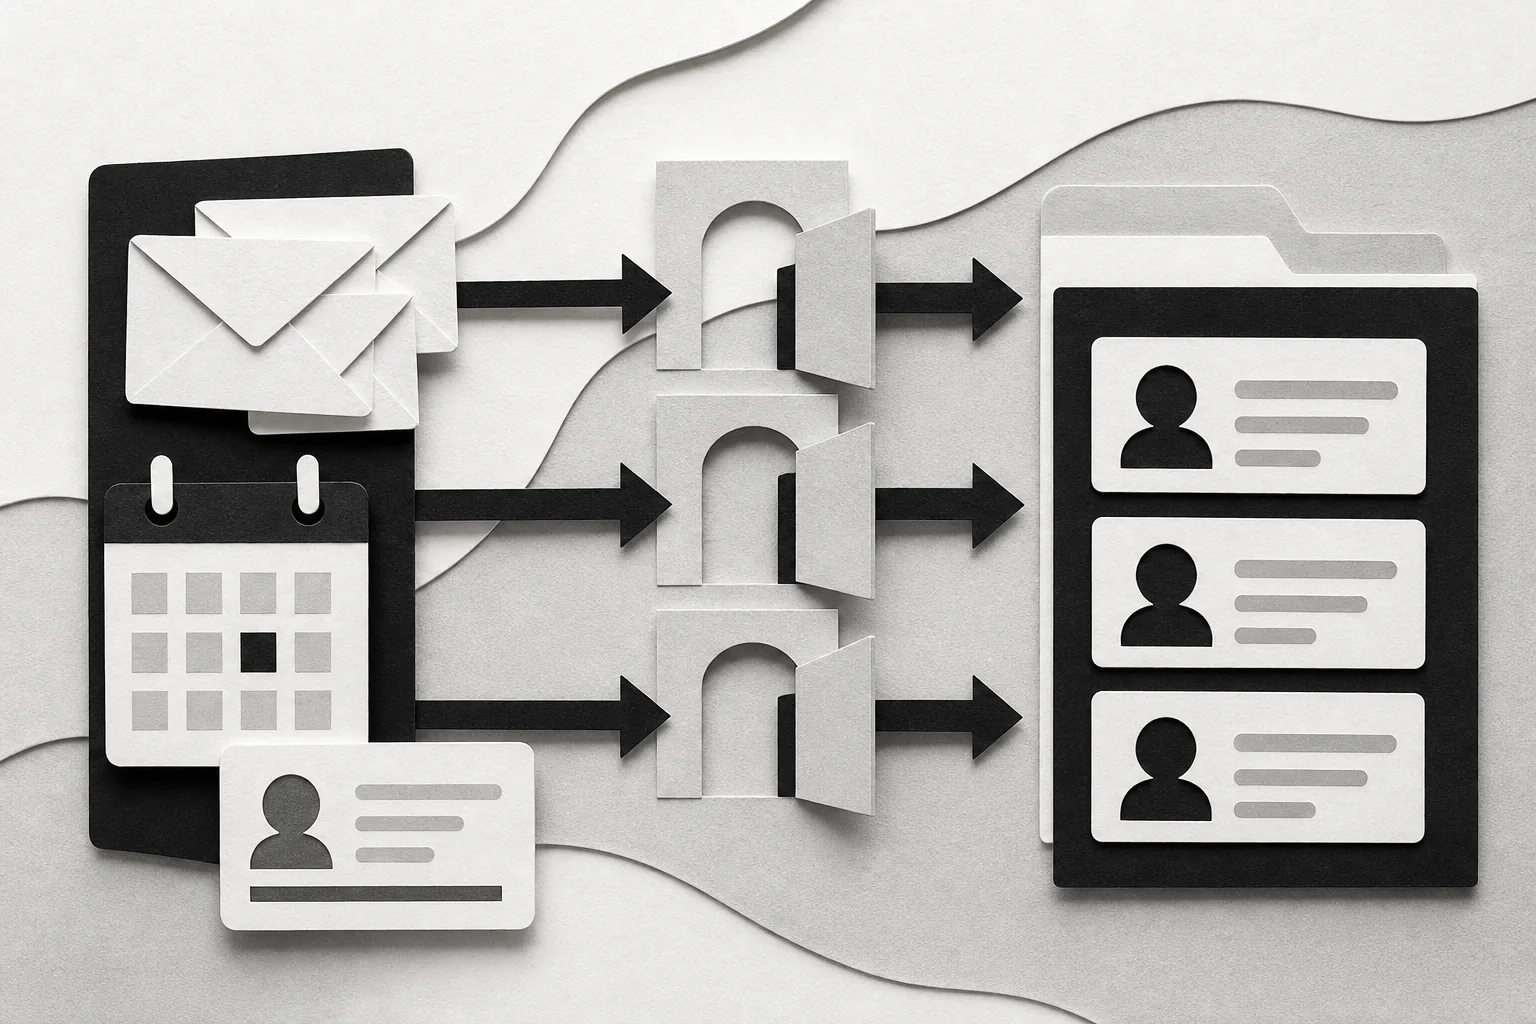
Field mapping needs the same care. Map the sender to a contact or lead field only when the email address is reliable. Map the related company to an account when Salesforce has a clear match. If several contacts share an address or name, require a manual choice rather than trusting an automatic match.
Third-party tools may add more automation here. Affinity for Salesforce is aimed at teams that want more than basic activity logging, while Match My Email focuses on email storage, attachments, and contact activity. Choose based on the job, not the longest feature list.
Step 6: Customize the Outlook pane and actions
Make the Salesforce pane show the fields and actions reps use during an email.
Open the compact layout settings for the Salesforce objects that appear in Outlook. Put the most useful fields first because the pane shows only a small number before the user opens the full record. For a sales user, that might mean account name, opportunity stage, and next step.
Add global actions when users need to make records from Outlook. Possible actions include a new contact, task, event, case, lead, or opportunity, depending on your org and permissions.
Assign different layouts by profile when roles need different views. Keep the pane narrow. If a rep must scan ten fields before finding the next task, the layout is doing too much.
Salesforce Inbox can add features such as scheduled send, templates, text shortcuts, meeting availability, and email engagement tracking when the needed license and permissions are in place. Treat these as optional layers. The basic connector should work before you add them.
Step 7: Log emails and calendar events from Outlook
Use the pane to connect each message or event to the correct Salesforce record.
Open a test email in Outlook and launch the Salesforce pane. Review the matching records. Select the right contact, lead, account, or opportunity, then choose the action to log the email.
For a new person, use the create action instead of forcing a bad match. Confirm the name, email address, company, and owner before saving. If the email includes a useful note, add it to the Salesforce record while the context is fresh.
Calendar logging follows the same pattern. Open a test event, check the attendees, and link the event to the right Salesforce records. Watch for personal meetings and recurring events. Those often need stricter rules than sales calls.
You can also send email from a Salesforce contact or account activity area when the org has that feature enabled. Check that the sending address is the expected Outlook account. Then send a test message and confirm that it appears under the right activity history.
ForwardThis is useful when the work starts with a messy email and needs action in another app. For example, you can forward a message with an instruction such as “Add this person to Salesforce and remind me Friday.” We carry out supported actions from the email, then reply with a record of what happened. See our email automation use cases for examples of this handoff.
Step 8: Test, troubleshoot, and roll out
Test the connection in a sandbox or demo org before making it part of daily sales work.
Run this small test set:
- Open a known contact from Outlook.
- Log a sent email to that contact.
- Create a new task with a due date.
- Send a calendar event and check its link.
- Test a private event and an internal email.
- Check a message with an attachment.
Compare the Outlook result with the Salesforce activity history. Look for the wrong owner, duplicate records, missing attachments, or a delay that users may mistake for a failed sync.
If sign-in fails, check the Microsoft account and Salesforce user match. If the pane is missing, confirm the add-in was installed for that mailbox. If records do not match, inspect email addresses, duplicate contacts, and object permissions before changing sync rules.
Security deserves a clear review. Ask which OAuth scopes the connection requests, who can approve them, where synced data is stored, and which admin can revoke access. Keep raw email content out of Salesforce when the activity record is enough.
Roll out in stages. Start with a pilot, collect the first issues, then train the wider team with one-page instructions. Track email activity volume, task creation, and the number of records that need correction. Those measures show if people use the connector correctly.
Most of the solutions reviewed for this category disclose little about price or limits. That makes vendor questions important, especially for high-volume tools such as Riva. If your needs are simple, ForwardThis may be a lighter option: forward any email, state the task, and let the service handle supported work without asking you to build a workflow first.
FAQ
How do I set up Outlook Salesforce integration?
Set up the connection by enabling Outlook Integration and Sync in Salesforce, installing the Salesforce add-in from Microsoft AppSource, and assigning user permissions. Then configure email and calendar rules before testing a message in a sandbox or pilot org. The exact screens can vary by Salesforce edition, Microsoft setup, and enabled features.
Can Salesforce log Outlook emails automatically?
Yes, Salesforce can log Outlook emails through its integration and activity capture settings. Admins choose which users and data can sync, while reps link messages to matching records. Automatic capture needs careful rules because internal mail, private events, duplicate contacts, and old messages may create unwanted activity.
Does Outlook Salesforce integration work on mobile?
Support on mobile depends on the Outlook app, Salesforce setup, and the features your organization has enabled. Test the workflow on the exact mobile clients your team uses. Outlook on the web and desktop are usually easier to control because administrators can manage add-in access and browser support.
Why is the Salesforce add-in missing in Outlook?
The add-in is usually missing because it was not installed for the mailbox, the user lacks permission, or the Outlook client is outside the supported setup. Confirm the user can access Salesforce, check Microsoft add-in deployment, and try Outlook on the web. If sign-in loops, review the account match and OAuth approval.
Is ForwardThis a replacement for the native Outlook integration?
ForwardThis is different from the native Outlook integration. The integration puts Salesforce records inside Outlook, while ForwardThis lets you forward an email with a written instruction and have supported work carried out in connected apps. It fits one-off admin jobs, such as creating a Salesforce record or follow-up, when you don’t want to build a fixed workflow.
How can I protect customer data during the integration?
Protect customer data by limiting mailbox access, reviewing OAuth scopes, restricting user permissions, and excluding private or internal content from sync. Test retention and deletion rules with your admin team. For ForwardThis, review the ForwardThis privacy details before connecting business apps, then set clear rules for sensitive records.
Start with Salesforce’s native connector if your team needs basic record access and activity logging. Test it with a small group, then add ForwardThis when individual emails create follow-up work that doesn’t fit a fixed workflow. Try it with a real email and a simple instruction before changing your wider process; you can also review the ForwardThis service terms as part of your admin review.