Blog · 25 August 2026 · By Sam Thomas
Automated Email Response: How to Set It Up
Learn how to create an automated email response with clear triggers, useful templates, follow-up rules, testing, and safer email workflows.
An automated email response only helps when it arrives for the right reason. Research across 45 tools found that just 44% include built-in AI parsing, while free plans often stop at a few hundred emails per month. Use the steps below to pick a trigger, write a useful reply, connect the result to your work, and keep the whole flow safe.
Table of Contents
- Step 1: Choose the Email Response Trigger
- Step 2: Write a Clear, Useful Response
- Step 3: Add Follow-Up and Thread Rules
- Step 4: Connect the Response to Business Tasks
- Step 5: Test, Monitor, and Set Safety Controls
- FAQ
- Conclusion
Step 1: Choose the Email Response Trigger
The trigger is the event that starts your automated email response. Pick it before you write a single line of copy.
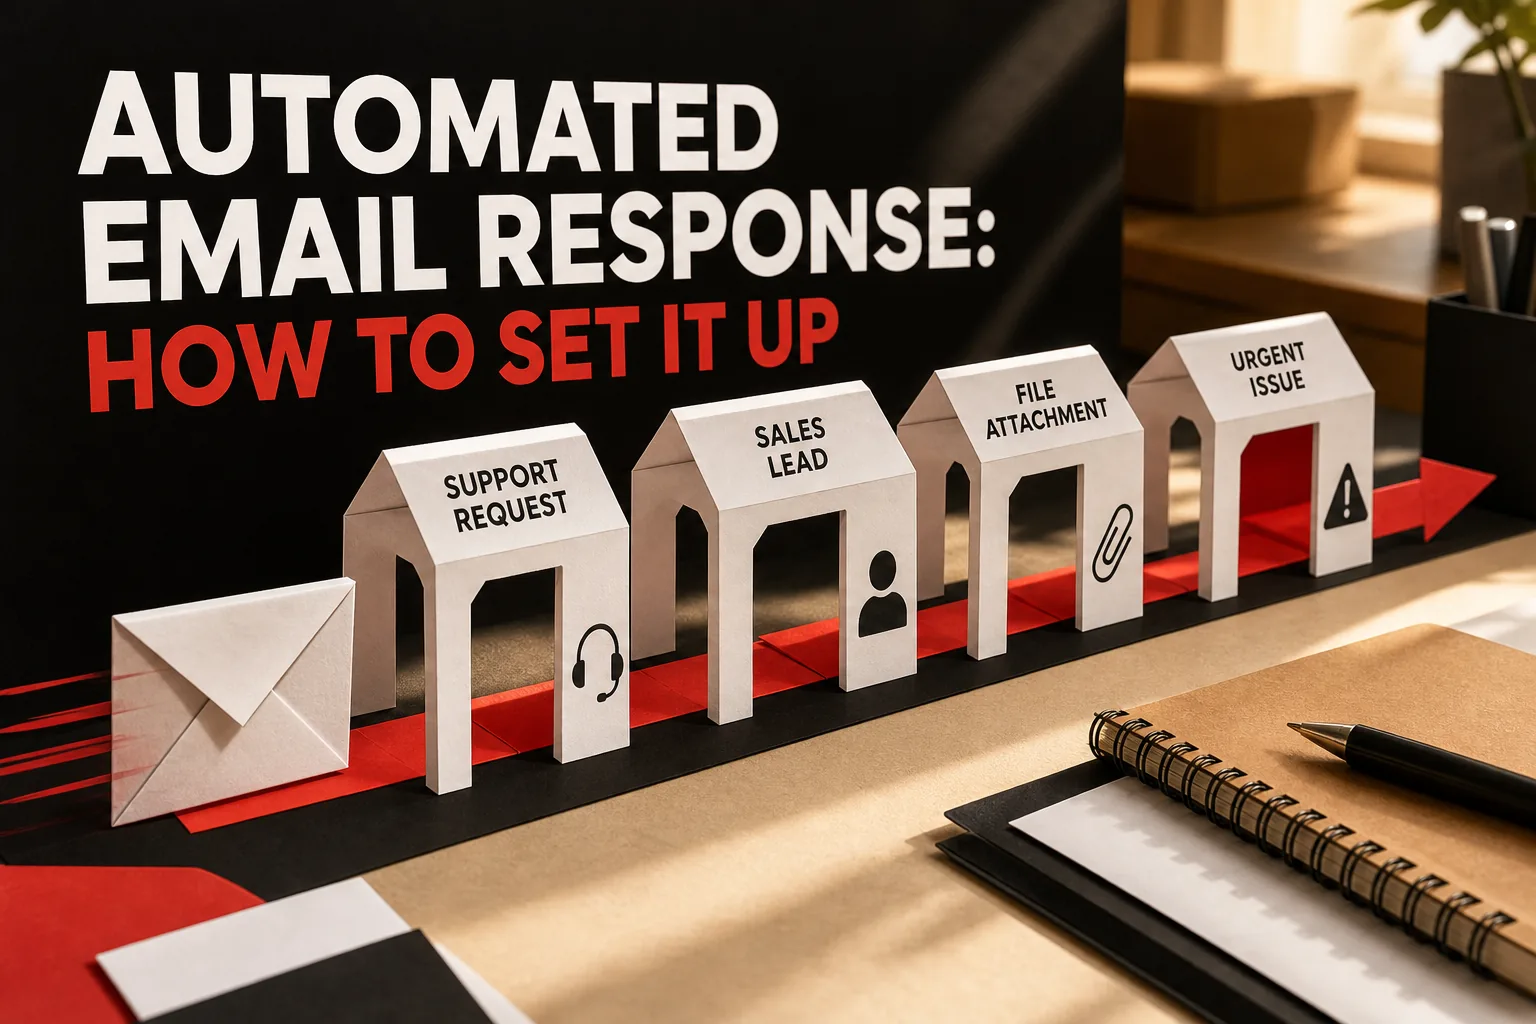
Start with the sender's intent. Ask what happened and what the sender expects next. A new support request needs an acknowledgment. A password reset needs a fast transactional message. A sales inquiry may need a reply plus a CRM update.
For work that starts in your inbox, use clear conditions such as:
- A message arrives at a specific address.
- The sender belongs to a known domain.
- The subject contains a phrase such as “new lead” or “urgent.”
- The email includes a requested file or a clear task.
- You forward the message with an instruction.
Keep transactional and lifecycle messages apart. A receipt or password reset confirms an action the person asked for. A re-engagement email responds to behavior over time. The second type is commercial, so it needs the right sender details and unsubscribe controls. Adding a promotion to a receipt can also change how the message is treated.
Use one trigger for one job at first. Complex branching makes errors hard to find. If your team needs separate routing and tags, keep those as separate workflows. Use simple, modular rules and avoid overlapping workflows that act on the same message.
Now write the failure rule. What should happen when the sender is a no-reply address, the subject is unclear, or the message contains sensitive data? The safest answer may be “do not send automatically.” Route it to a person instead.
By now you should have one named trigger, one intended recipient, and one clear stop condition.
Step 2: Write a Clear, Useful Response
A useful automated email response answers three things fast: did you receive the message, what happens next, and when should the sender expect movement?
Write the subject first. Make it specific to the event. “We received your support request” is clearer than “Automatic reply.” For an absence message, include the return date. For a case acknowledgment, include the case reference if your system has one.
Then use this short structure:
- Greet the sender in a natural way.
- Confirm what arrived.
- State the next action.
- Give a time window you can meet.
- Point to the right backup path when needed.
Here is a support example:
“Hi {{first name}},
We received your request about {{topic}}. Our team will review it and reply within one business day. If you have more details, reply to this message so they stay with the request.
Thanks,
The Support Team”
Notice what it avoids. It does not promise a fix. It does not pretend that a person has read the message. It gives the sender one clear next move.
For an internal task, the response should record the work rather than sound like marketing copy. Forward an email to ForwardThis, the email-first operations app, with a note such as, “Add this person to HubSpot and follow up Friday.” We reply with a short record of what happened, so you don't need to check every connected app.
Keep personal judgment out of automatic replies. Don't send a cheerful template after a complaint, a legal threat, or a message about a sensitive account issue. Those cases need a human voice.
Add a plain-text version if your system sends HTML mail. Check every variable, link, date, and fallback value. A blank first name or an old return date can make a sound process look careless.
By now you should have a short template with a clear purpose, a real time window, and a human handoff rule.
Step 3: Add Follow-Up and Thread Rules
Follow-up rules decide what happens after the first automated email response. Without them, your system may send duplicates or keep nudging someone who already replied.
Set a thread rule before setting a timer. A thread is the chain of messages linked to the same conversation. The rule should tell your system when a reply counts as progress and when a new message starts a separate case.
For most work inboxes, use these controls:
- Stop the sequence when the sender replies.
- Don't reply to your own automated message.
- Don't create a second task when the same thread is forwarded again.
- Keep the original subject and message ID when possible.
- Send a reminder only after a stated wait period.
Suppose you email a prospect and ask for a meeting. If they reply, the next action should change. If they don't reply, you might create a reminder for Friday. If they send an out-of-office message, pause the timer until their stated return date.
Thread matching can fail when mail systems change headers or strip message data. That is why you should store a stable request ID in the record your automation creates. A subject line alone is a weak key. People forward messages, change subjects, and start fresh threads.
Give each follow-up a limit. Three reminders may be enough for a sales task, while a support case may need a person after the first failed reply. Never let an automation run forever because a condition was missed.
For a ForwardThis request, the user remains the source of the instruction. You can say, “Save this proposal in the Acme folder and remind me Friday.” Memory may fill in known folder or app details, but it should not invent a new task that you never asked for.
Review the thread after every test. Check that the reply stayed in the right conversation, that the follow-up stopped at the right time, and that a second copy did not create duplicate work.
By now you should have a reply-stop rule, a reminder limit, and a way to link each action to its source thread.
Step 4: Connect the Response to Business Tasks
The best automated email response does more than say “we got it.” It can move the requested work into the system where your team will act on it.
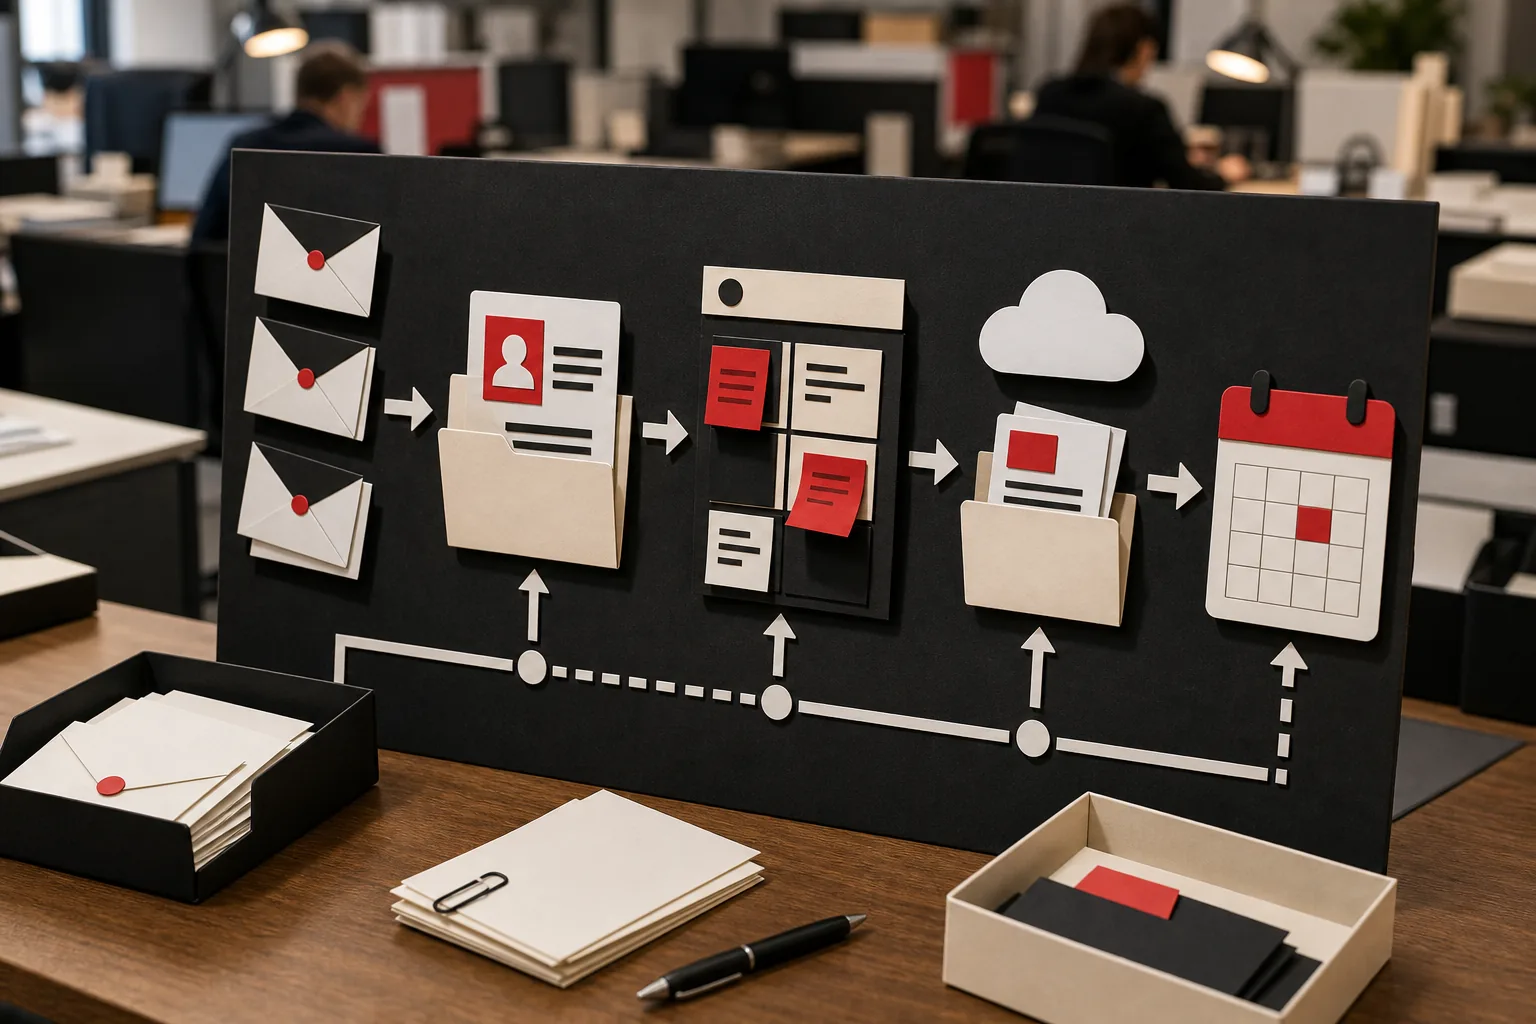
Start by naming the destination. A sales email may need a CRM contact or deal note. A client request may belong in Asana or another task system. An attachment may need a folder in Google Drive. A meeting request may need a calendar event.
Then define the fields that must move across. Keep the list small:
- Person and company details.
- Task title and due date.
- CRM note or deal stage.
- File name and target folder.
- Calendar date, time, and attendees.
Don't sync every signal. An opened email rarely deserves a new CRM task. A clear reply such as “Yes, next Tuesday works” probably does. Selective sync keeps your records useful and reduces duplicate entries.
This is where ForwardThis fits well. Forward any email and write the job in plain language: “Create an Asana task for this, due next Tuesday.” Or say, “Save the PDF in Google Drive and update the deal in HubSpot.” We interpret the message, carry out supported actions, and send back a record of the result.
You can see examples of these email-to-task and email-to-file patterns in the ForwardThis use cases. The point is simple: you don't design a fixed workflow for every small request. You state the job when it appears.
Use a fixed workflow tool when the same event always needs the same steps. Zapier, Make, and n8n are well suited to that model. A human instruction is better when the job changes each time, such as deciding which client folder fits an attached proposal.
Map fields before you turn on automatic writes. Check the exact CRM field names, required values, and date format. A task with no owner or due date may be worse than no task at all.
Run one test email through the full path. Confirm the right contact was found, the right record changed, and the reply described the work accurately. Then test a second message that should not create anything.
By now you should have a destination for each action, a small field map, and a duplicate check.
Step 5: Test, Monitor, and Set Safety Controls
Testing shows whether your automated email response works when the inbox gets messy. Happy-path tests are not enough.
Build a small test set with at least these cases:
- A normal message with all required details.
- A message with a missing name or due date.
- An out-of-office reply.
- A bounce or invalid address.
- A duplicate forward of the same thread.
- An urgent or sensitive request that needs approval.
Check both sides of every test. Did the destination app change correctly? Did the sender receive the right reply? Also check what the system did not do. A safety test passes when the wrong message stays untouched.
Automated email testing tools can support tests for bounces, server errors, and automatic replies. They let teams repeat those edge cases instead of waiting for a failure in production. That matters because a workflow can look fine until a mail server rejects one message or sends an unexpected auto-response.
Set approval gates for actions that are hard to undo. Sending a public message, changing a deal stage, or deleting a file should not happen from an unclear instruction. When a safe undo exists, show the user what changed and how long the undo window lasts.
Review permissions before connecting an email tool. Read-only access is different from permission to send, delete, or change mail. The permission screen tells you what the app can do, so read it instead of clicking through by habit.
ForwardThis is designed around deliberate forwarding rather than access to your whole inbox. It sees the messages you send it, and its privacy details explain its retention and activity records. That narrower starting point can be easier to review with your team.
Monitor a few simple signals after launch:
- Responses sent per trigger.
- Duplicate actions blocked.
- Failed actions and approval requests.
- Messages that reached a human handoff.
- Average time from request to completed task.
Keep an activity record for each request. It should show the source message, instruction, action taken, result, and any approval. That record makes it much easier to fix a bad rule.
By now you should have test cases, permission limits, an approval path, and a review habit. Start with one inbox and one job. Expand only after the results are easy to trust.
FAQ
What is an automated email response?
An automated email response is a message sent when a defined event occurs. The event might be a new inquiry, an out-of-office period, a support request, or a forwarded instruction. The strongest setups also record the work that follows, so the reply confirms a real action instead of sending a vague acknowledgment.
How do I write an automated email response?
Write the purpose in the first sentence, then state what happens next and when. Use a clear subject, a short acknowledgment, a realistic time window, and a human handoff for sensitive cases. Keep the message short enough to scan, and test every name, date, link, and fallback field.
Can an automated email response create tasks?
Yes, an automated email response can trigger a task when the system connects email to a task tool. You need a clear task title, owner, due date, and duplicate rule. With ForwardThis, you can forward an email and say what to create, such as “Turn this into an Asana task due Friday.”
Are AI email responses safe?
AI email responses can be safe when permissions, retention, and approval rules fit the work. Read the access request before connecting an account, especially if it includes send or delete rights. Avoid automatic handling for sensitive messages unless your organization has approved the tool and its data practices.
How do I stop duplicate automated email responses?
Stop duplicates by matching the message thread or a stored request ID, not the subject line alone. Add a rule that marks completed work and ignores the same message later. Also stop a follow-up when the sender replies, and test forwards, changed subjects, and automatic replies before launch.
Conclusion
Start with one inbox job that has a clear trigger and a safe outcome. Write the reply around the next action, add a stop rule, then test failure cases before expanding. If you want to hand off small admin tasks without building a workflow, forward one email to ForwardThis with a plain instruction and review the result.